Trending

Most knitters meet their first real pattern the same way. They cast on, work the ribbing, then hit a line like *K2tog, yo, k1; rep from * to last 2 sts and stop cold. The stitches make sense. The page does not. That gap is almost never about skill. It is about vocabulary: a shorthand of abbreviations, grids and brackets that designers assume you already speak. Once you can turn a line of pattern text into a row of stitches, the rest is just knitting. Here is how to read the page the way its author intended.
The rows of instructions are only part of the pattern. The header holds the information that decides whether the finished thing fits: yarn, needle size, gauge, finished measurements and the sizes the numbers refer to.
Gauge deserves a real look, not a glance. If the pattern says 22 stitches and 30 rows to 10 cm in stockinette, that number is the reason the sweater comes out your size. Knit a swatch, wash it, and measure it before you commit. It is the least exciting step and the one that saves the most ripping.
Then read the notes. Designers tuck essential details there: whether the first stitch is slipped, whether stitch counts include borders, how to work an edge, and what the numbers in parentheses mean. A cast-on written as 96 (104, 112, 120) sts lists four sizes, smallest first. Do yourself a favour and circle every number that belongs to your size with a pencil before you begin. From that point on, read only the circled numbers and the parentheses stop being noise.
Most patterns include a key, and you should trust theirs over any list you find elsewhere. Designers are usually consistent, but they are not identical, and a handful of terms vary between publishers. A few you will meet constantly:
For the first project or two, write the translation above the abbreviation in pencil. It feels like homework for about fifteen minutes, and then the shorthand reads like a sentence and you stop noticing you are reading it.
A chart is a grid of your fabric seen from the right side. Each square is one stitch; each horizontal line of squares is one row. The symbols inside the squares tell you what to do with that stitch on that row, and the chart key tells you which symbol means what in this particular pattern. Read the key every time, even when you think you know it, because chart symbols differ between publishers.
The direction of reading trips up nearly everyone. On the right side, you read the chart from right to left, the same direction you knit. On wrong-side rows, you read from left to right. Row numbers usually sit in the margin: odd numbers on the right for right-side rows, even numbers on the left for wrong-side rows.
Worked flat, the chart has both right- and wrong-side rows. Worked in the round, there is no wrong side to turn, so every row is read from right to left and the chart may only show right-side rows. Check which situation your pattern describes before you start, then check again at the first charted round.
One more convention worth knowing: charts show stitches as they look on the right side. So a plain purl symbol on a wrong-side row of a flat chart might mean knit when you work it. If the pattern says the wrong-side rows are written as they are worked, follow the text instead.
Patterns save space by telling you a small sequence once and asking you to work it several times. The markers are an asterisk, brackets, or both. Read them literally.
Row 1 (RS): K3, *yo, k2tog, k4; rep from * to last 3 sts, k3.
Here is what that line actually asks for. Knit 3 stitches. Then work the sequence inside the asterisk: yarn over, knit two together, knit four, which uses six stitches and produces six. Repeat that six-stitch sequence across the row, and stop when three stitches remain. Knit those last three. The three stitches at each end are borders, and they are not part of the repeat.
Check it against your stitch count. With 96 stitches cast on, subtract the two borders: 96 − 6 = 90. Ninety divides by six fifteen times, so the row works out cleanly with fifteen repeats. If your count does not divide evenly, either the stitch count or your understanding of the repeat is off, and it is worth resolving before you knit the row rather than after.
Watch for two more phrasings. Rep from * to end means keep going to the very last stitch with no border. And rep 3 times more means four total, not three. Repeats also apply vertically: "work rows 1–8 four times, then rows 1–4 once" is just as binding as a horizontal repeat.
That last step is the habit that separates relaxed knitting from guesswork. Most good patterns state the stitch count after increase and decrease rows, precisely so you can catch a mistake while it is one row old.
It happens to everyone. Recount the row you just worked, then recount the cast-on. Check whether the row you are on is meant to change the stitch count: a yarn over adds a stitch, a decrease removes one, and a line that does both should stay level. Look for errata on the designer's page, since a surprising number of pattern puzzles turn out to be a known correction. If everything checks out and the row still will not resolve, write the stitch count out on paper and work the repeat slowly once. Seeing the numbers in your own handwriting untangles more rows than any forum thread.
Do those five things and the page in front of you stops being a codebook. It becomes a set of instructions, written by someone who assumed you would take a minute to learn the language. Take the minute. Then pick up the needles and knit the first row.
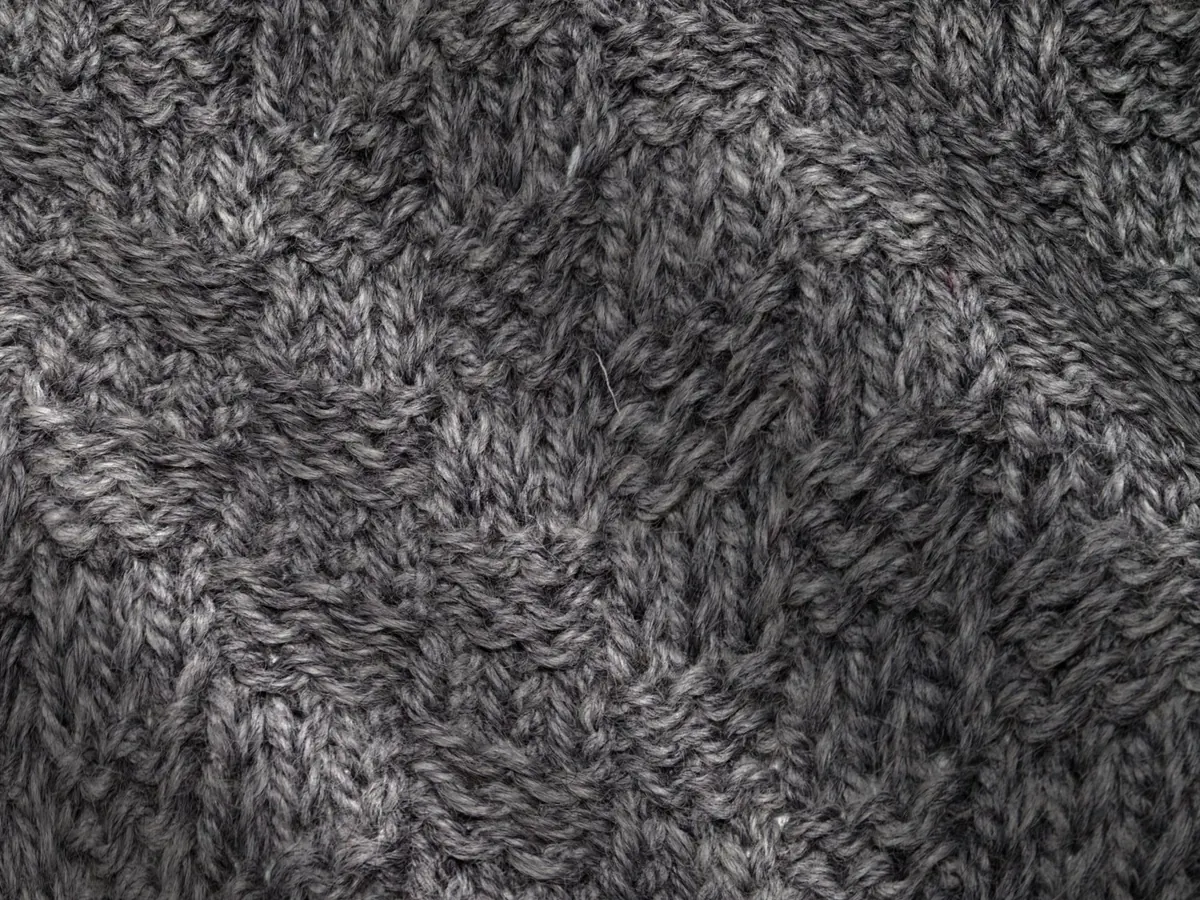
Photo: 3D Render / Pexels