Trending

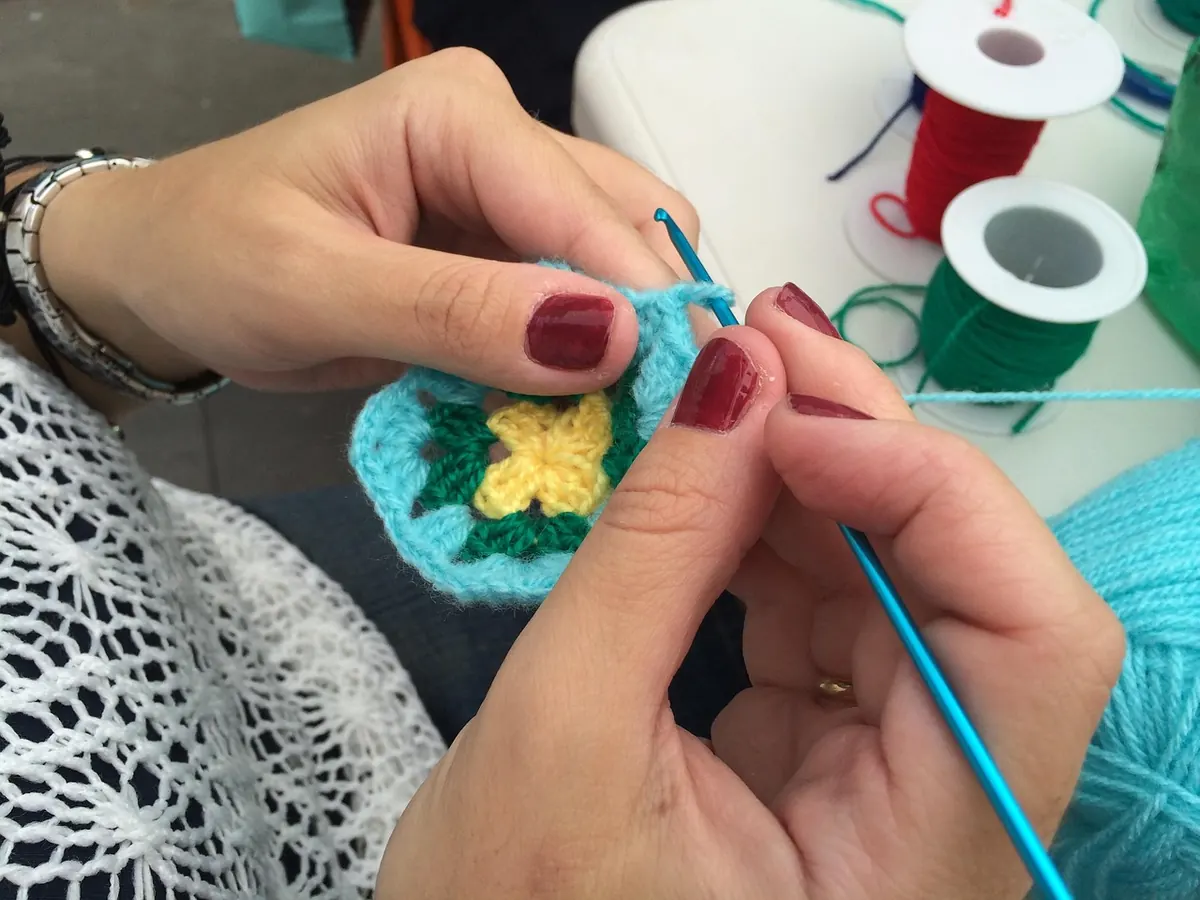
You finish round five, hold the square up at arm's length, and it does the thing: the edges roll inward like a soft taco, or the middle domes up and the corners sulk. Nothing is wrong with you. A granny square is a circle pretending to be a square, and that geometry has opinions. The good news is that nearly every wonky square traces back to one of a handful of causes, and each one has a fix you can apply before the next round.
First, lay the square on a table and press it flat with your palm. If it stays roughly flat for a few seconds, even if it slowly lifts again, your stitch count is probably fine and blocking will finish the job. If it snaps back the moment you lift your hand, you have a counting problem, and no amount of pinning will disguise it.
Second, check which round you are on. Rounds one to three nearly always cup a little, especially in cotton. A small bowl shape at that stage is normal and usually flattens by round five or six as the fabric gains weight and width. Judge a square at round five, not round two.
A square that ripples has more fabric than the geometry can absorb. The waves usually appear along the sides first, then spread to the corners, and pressing them flat feels like trying to flatten a lettuce leaf. Look for these culprits:
Here is the check that catches almost everything: after each round, count the 3-double-crochet groups. For a standard granny square, the total should equal four times the round number. Round two has eight groups, round three has twelve, round four has sixteen. If you are one group over, you have found your problem.
Curling looks like the opposite problem and behaves like it too. The fabric pulls inward because there is not enough of it, so the outer rounds tighten around the inner ones and the whole square refuses to open up.
The most common cause is a starting ring pulled shut with force. A magic ring cinched tight acts like a drawstring on the centre of the square. Close the ring, then ease off; it should be small but not strangling the first round.
Next, check the last stitch of every round. The turning chain sits at the edge and hides the final cluster from above, so it is easy to skip. Miss it once per round and you lose a stitch per side, four per round, which adds up to a noticeable cup by round six.
Finally, consider your hand. A tight tension with a hook smaller than the yarn label suggests produces a stiff, dense fabric that curls under its own tension. Go up one hook size and make one test square. This is the single fastest experiment in crochet, and it costs about ten minutes.
Worth knowing: cotton has almost no elasticity, so it shows every tension irregularity and curls more readily than wool or acrylic. If you switch from acrylic to cotton for the same pattern, expect to change hook size.
Standard granny squares follow one simple rhythm: three double crochet, chain two, three double crochet in each corner space, and three double crochet in every side space between them. Each round grows by four corner clusters and four side clusters, which is twelve stitches per round in double crochet, or four groups of three.
Two deviations cause most corner problems. The first is mixing corner styles mid-project, working a chain-two corner on one round and a chain-one corner on the next. Pick one and stay with it. The second is placing corners one space too early or too late, which shifts the whole square into a pinwheel. Lay the square flat after each round and look at the four corners; they should form a cross, not a spiral.
If your pattern calls for chain-one corners or a solid granny square, the growth maths is different, so count from the instructions rather than from habit.
Blocking fixes slight unevenness, stubborn curl in natural fibres, and squares that need to match a specific measurement. It does not fix a stitch count error. Pinning a square with twelve extra stitches only gives you a flat square with twelve extra stitches, and the error will reappear after washing.
For cotton, wool and other natural fibres, wet blocking works well: soak the squares in cool water for fifteen to twenty minutes, press them gently in a towel to remove excess water, then pin each one to the finished measurement on blocking mats. Use the measurement you actually want, not whatever shape it happens to be. Let them dry completely, which usually takes a day.
Acrylic is different. Water alone will not persuade it to hold a shape, and a hot iron will flatten the stitch definition permanently. Hold a steam iron a few centimetres above the fabric, let the steam relax the fibres, pin to size, and leave it. Test on one square before you commit a whole batch.
Block before you join. A blanket joined from flat squares stays flat; one joined from curly squares tends to ripple along every seam.
When a square misbehaves, work through this in order and stop at the first thing that fails.
Most of the time, one of these checks solves it. And if you have already made twenty squares with the same flaw, do not despair: a consistent flaw across a whole batch is far less visible once the squares are joined and bordered than a single odd square. Measure the average size, pick the most common measurement, and block them all to it. Consistency, more than perfection, is what makes a finished blanket look intentional.
Photo: lolareyes / Pixabay