Trending

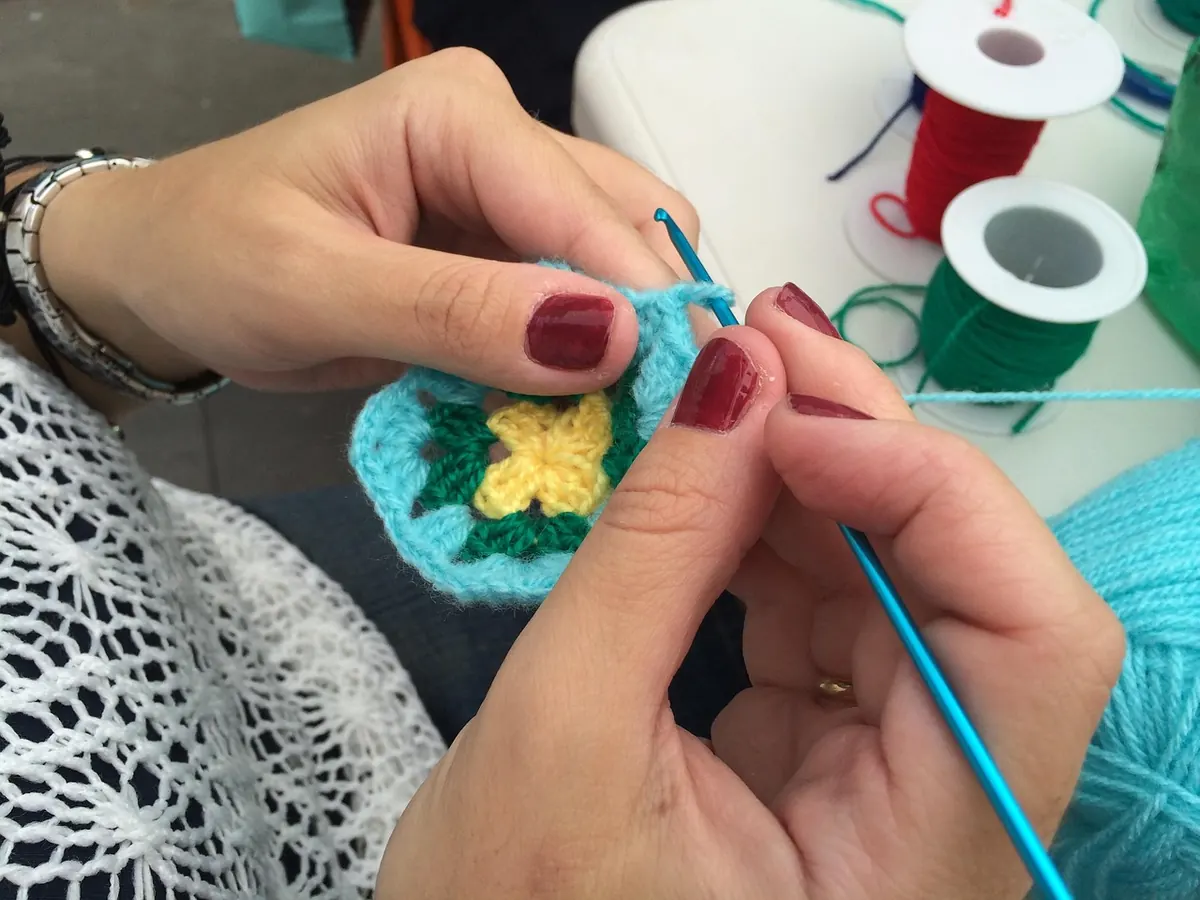
Most crochet problems don't announce themselves. The first few rows look fine, then a blanket starts pulling into a trapezoid, or the fabric comes out stiff as a coaster, or your hands ache twenty minutes in. Almost always the culprit is tension — and not in the sense of gripping harder. Tension is simply how consistently the yarn travels from the ball to the hook, stitch after stitch. It isn't a talent you're born with; it's a set of small habits, and habits can be changed. Below are the ten mistakes that turn up most often, how to recognise each one in your own work, and what to do about it.
When a pattern lists a gauge, it isn't a suggestion from a cautious designer. It's the measurement the whole garment was built on. If the pattern asks for 16 stitches to 10 cm and you're working 18, your fabric is about 12 percent narrower than planned — a 100 cm chest circumference becomes roughly 87 cm, and no amount of blocking will recover the difference.
Two rules fix this. First, swatch before you commit, not after the sleeves are joined. Second, swatch properly: work at least a 15 cm square, because edge stitches are always distorted, and measure across the centre. If the finished piece will be washed, wash the swatch the same way and let it dry before you measure. Wool relaxes, cotton firms up, and a swatch that hasn't been treated is only half the information.
And keep the note. Hook size, stitch count, yarn — written down. You will not remember it three weeks later when you start the second sleeve.
This mistake appears in two opposite forms, and both come from the same place: treating the yarn as something to be controlled rather than fed.
You're working too tight. Tell-tale signs: the hook needs a push to enter each stitch, the piece curls into a tube as you go, and your forearm is tired after ten rows. The cause is usually the yarn hand. Crocheters wrap the working yarn around the pinky two or three times, or pinch it against the palm, and every stitch inherits that resistance.
Try this instead: let the yarn pass over the index finger and down through the middle of your hand, with one light wrap around the pinky at most. Some crocheters use no wrap at all. The strand should feel like it's being steered, not held. If you can't slide the yarn through your fingers with gentle pressure, it's too tight.
You've gone the other way. The fabric looks lacy when it shouldn't, you can see daylight between stitch posts, and in amigurumi the stuffing peeks through. Go down half a millimetre to a full millimetre in hook size, feed the yarn over the top of your index finger rather than around it, and pause for a fraction of a second before pulling each loop through. Speed is almost always the real cause here.
The yarn has to come from somewhere, and where it comes from affects your stitches. A centre-pull cake feeds evenly; a ball rolling under the sofa does not. Every time you tug it free, that tug travels into your next stitch.
Put the ball in a basket beside you, at roughly the same height as your hands, so the yarn lifts rather than drags. On large projects — blankets especially — the weight of the work itself adds tension as you go, which is why row 80 comes out tighter than row 8. Rest the growing fabric on your lap or a table and turn the work instead of lifting it.
Hook material matters too. Wood and bamboo grip the yarn, which can tighten your gauge without you noticing; metal slides. If you've switched hooks and your tension shifted for no obvious reason, that's often why. Very dry hands with cotton yarn produce the same effect — a little hand cream before you start, letting it absorb fully, makes a surprising difference.
Even tension isn't only about yarn resistance; it's also about loop height. The working loop should sit at roughly the same place on the hook every time — around the widest part, not stretched up towards the thumb rest, not pinched down at the throat. Crocheters who pull each loop up to the same generous height get tall, airy stitches; those who snug it down get short ones. Either is workable. Mixing them in the same row is what makes fabric look lumpy.
Two habits help. Yarn over the same way every single time — front to back or back to front, but pick one — and slow down at the ends of rows, where most people unconsciously tighten up because the angle is awkward. Turn the work fully before the first stitch rather than crocheting into it sideways.
Edges expose everything. A foundation chain worked tightly will never stretch to match the body of the piece, which is why so many scarves curve. A turning chain that's too short pulls the first stitch out of shape; one that's too tall leaves a gap.
Fixes that work:
The final mistake is the most passive: not looking. Your work is telling you what's wrong if you stop and examine it. Lay it flat on a table and run through a quick check every dozen rows.
One more thing worth saying plainly: correct tension depends on the project. Amigurumi wants a dense, firm fabric; lace wants openness. Matching gauge matters most for fitted garments, less for scarves and blankets. Aim for consistency within a project before you chase a number on a page.
Tension improves faster with short, focused practice than with hours of distracted crocheting. If you want to actually change yours, try this over a week:
Expect some day-to-day variation. Hands behave differently in cold weather, after a long day, or with a new yarn. The goal isn't a perfect number on a ruler; it's fabric that looks the same at the end as it did at the beginning. Once you can do that, every pattern becomes easier to trust.
Photo: gefrorene_wand / Pixabay