Trending

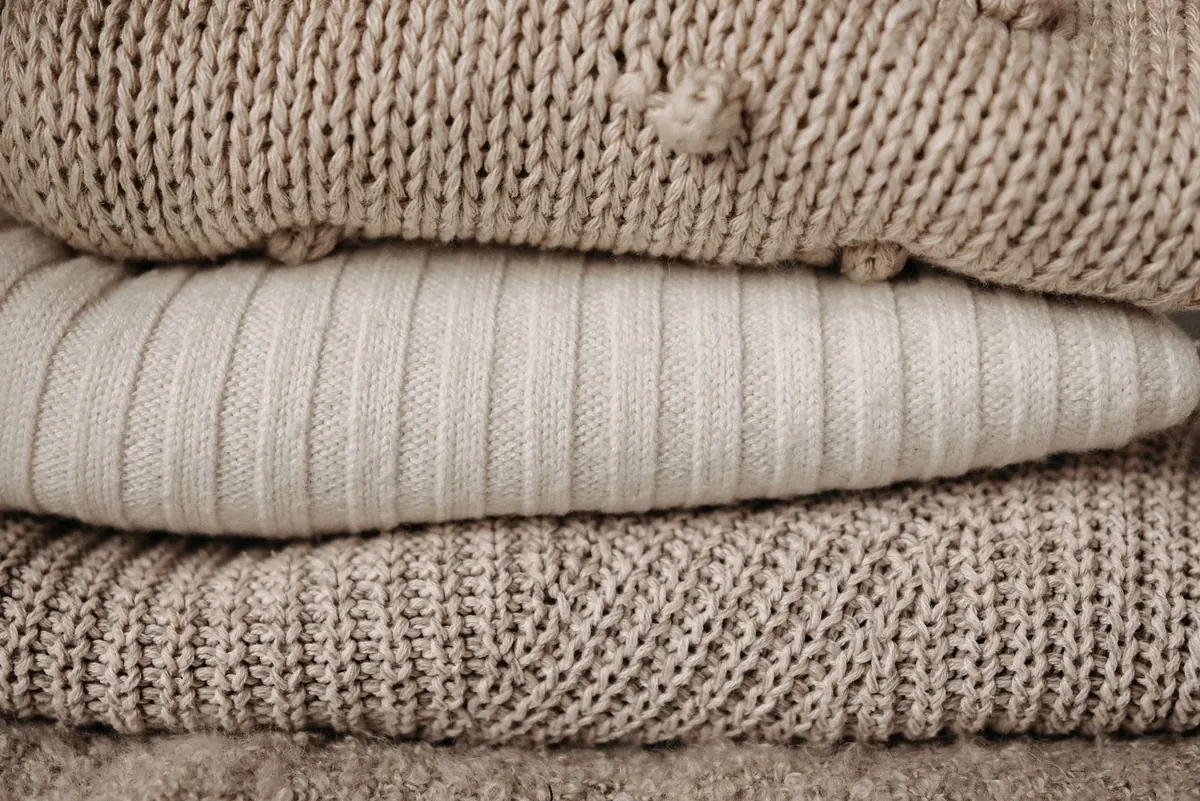
A freshly bound-off sweater rarely looks like the one in your head. The edges curl inward, the stitches sit in uneven columns, and a lace shawl looks less like geometry than a crumpled heap on the table. Blocking closes that gap, and it needs far less equipment than most knitters assume. The real decision is choosing the right method for the fibre in your hands. Soak the wrong yarn and it can grow several inches; press acrylic with a hot iron and it will never spring back. Here is how wet, spray, and steam blocking compare, and when each one earns its place.
Blocking is controlled washing, shaping, and drying. It does three jobs at once: it redistributes the yarn so uneven stitches settle into line, it sets the finished measurements, and it opens up lace so the pattern reads as holes rather than texture. It also softens many wools, relaxes the kinks in yarn that has been ripped back more than once, and removes the fold lines left by a project that sat in a bag for a month.
What it cannot do is rescue a gauge that is off by two sizes, and it will not turn a stiff acrylic into something with drape. It also won't cure curl. A stockinette scarf knit flat will still roll at the edges no matter how patiently you pin it, because the stitch structure itself is unbalanced; a folded-and-seamed construction or a border stitch solves that problem, not a blocking mat.
Wet blocking is the most thorough option and the right default for wool, wool blends, cotton, linen, and any lace project where dimensions matter. The whole piece absorbs water, the fibres relax fully, and you pin the fabric to the shape you want while it dries.
Two warnings. Superwash wool can grow noticeably when soaked, and alpaca grows even more, so pin to your measurements rather than stretching as hard as the fabric allows. And never hang a wet knit: the weight of the water will pull the shoulders out of shape permanently.
Spray blocking means misting the piece with a spray bottle, pinning it out, and letting it dry. It suits small items, plant fibres, yarns with a lot of halo, and finished pieces that only need a refresh — a sweater that has been folded in a drawer since spring, a hat that has lost its shape.
It's also the cautious choice. Mohair, silk, and complex colourwork all carry some risk when fully soaked, whether from halo collapse or dark colours bleeding into light ones, and a light mist limits the damage if something goes wrong. Misting doesn't penetrate dense fabric the way a soak does, though. On a firmly knit worsted wool, spray blocking mostly touches the surface; the stitches may smooth out but the shape won't set as firmly as it would after a full soak. For a lace shawl with a lot of stretch and geometry to hold, wet blocking is worth the extra effort.
Steam works on dry, already-shaped pieces, and it takes minutes rather than hours. Pin the item to size, then hold a steam iron two to five centimetres above the fabric and let the steam pass through. Move slowly along the surface, let the fibres cool and dry, and check the result before going further. A handheld garment steamer is gentler still.
Do not press. An iron resting on the stitches flattens them, and cotton and wool will both lose the texture that made the fabric worth knitting. Acrylic is the bigger concern: heat and steam can permanently relax the fibres, which is why "killed acrylic" goes limp and never springs back. Superwash wool can also stretch under steam. Test on your gauge swatch first, let it cool completely, then decide. Steam is the best method for silk, for pieces you can't easily get wet, and for reviving seams after a garment has been washed and dried.
Block your gauge swatch first, using the method you plan for the finished piece. Measure it before and after, then compare with your pattern's gauge. That one step tells you whether your sweater will grow, whether steam is safe for the yarn, and whether your stitch definition survives. Write the method and the before-and-after measurements on a card and keep it with the yarn label — future you will be grateful.
Then work from the gentlest method upward. Spray first if the piece only needs tidying; soak it if the shape and the lace need setting; steam when you need speed on a fibre you've already tested. Keep a small kit together — rustproof pins, two blocking mats, a tape measure, a spray bottle, a few wires — and the job stops feeling like a production. Most knits look dramatically better after twenty minutes of water, pins, and patience. That is the whole trick.
Photo: Pavel Danilyuk / Pexels